


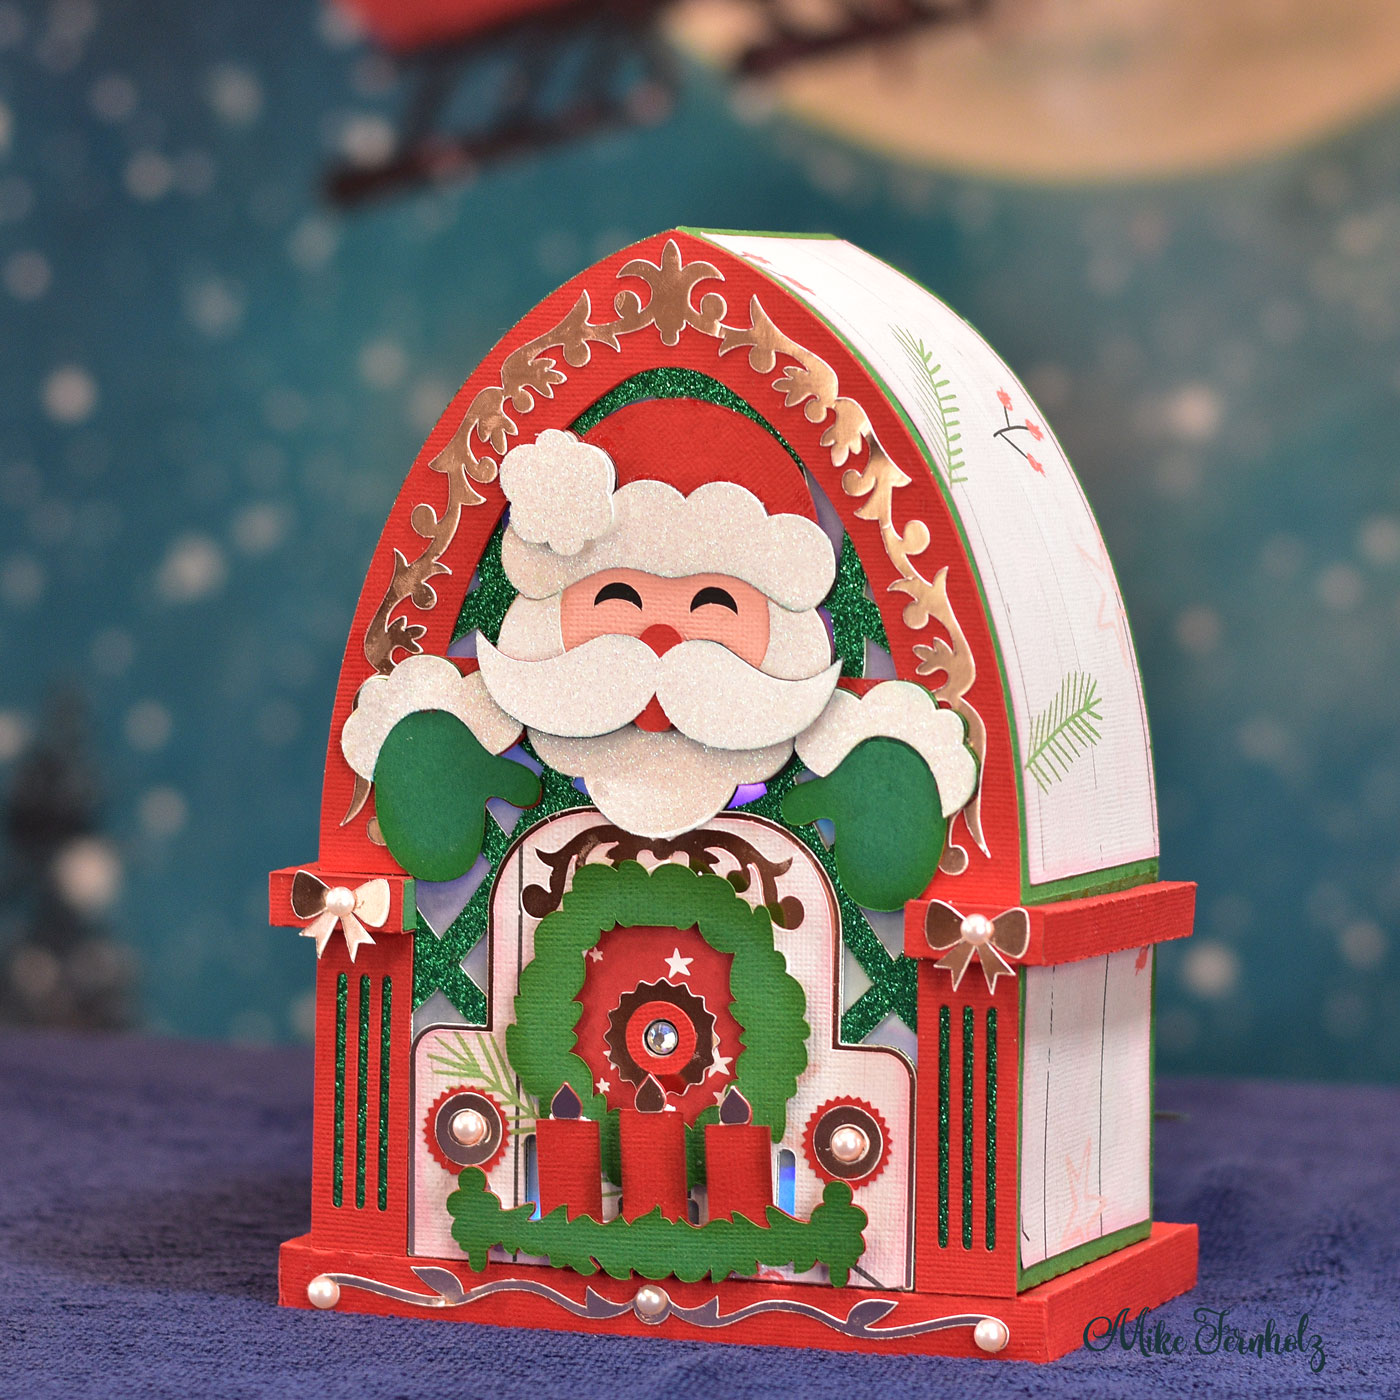
Enjoy this delightful project, originally conceived for Halloween, but transformed for the Christmas season! When Leo announced the creation of a Christmas Sound Pack, I was inspired to put my own unique spin on a Christmas Radio.
Christmas Radio
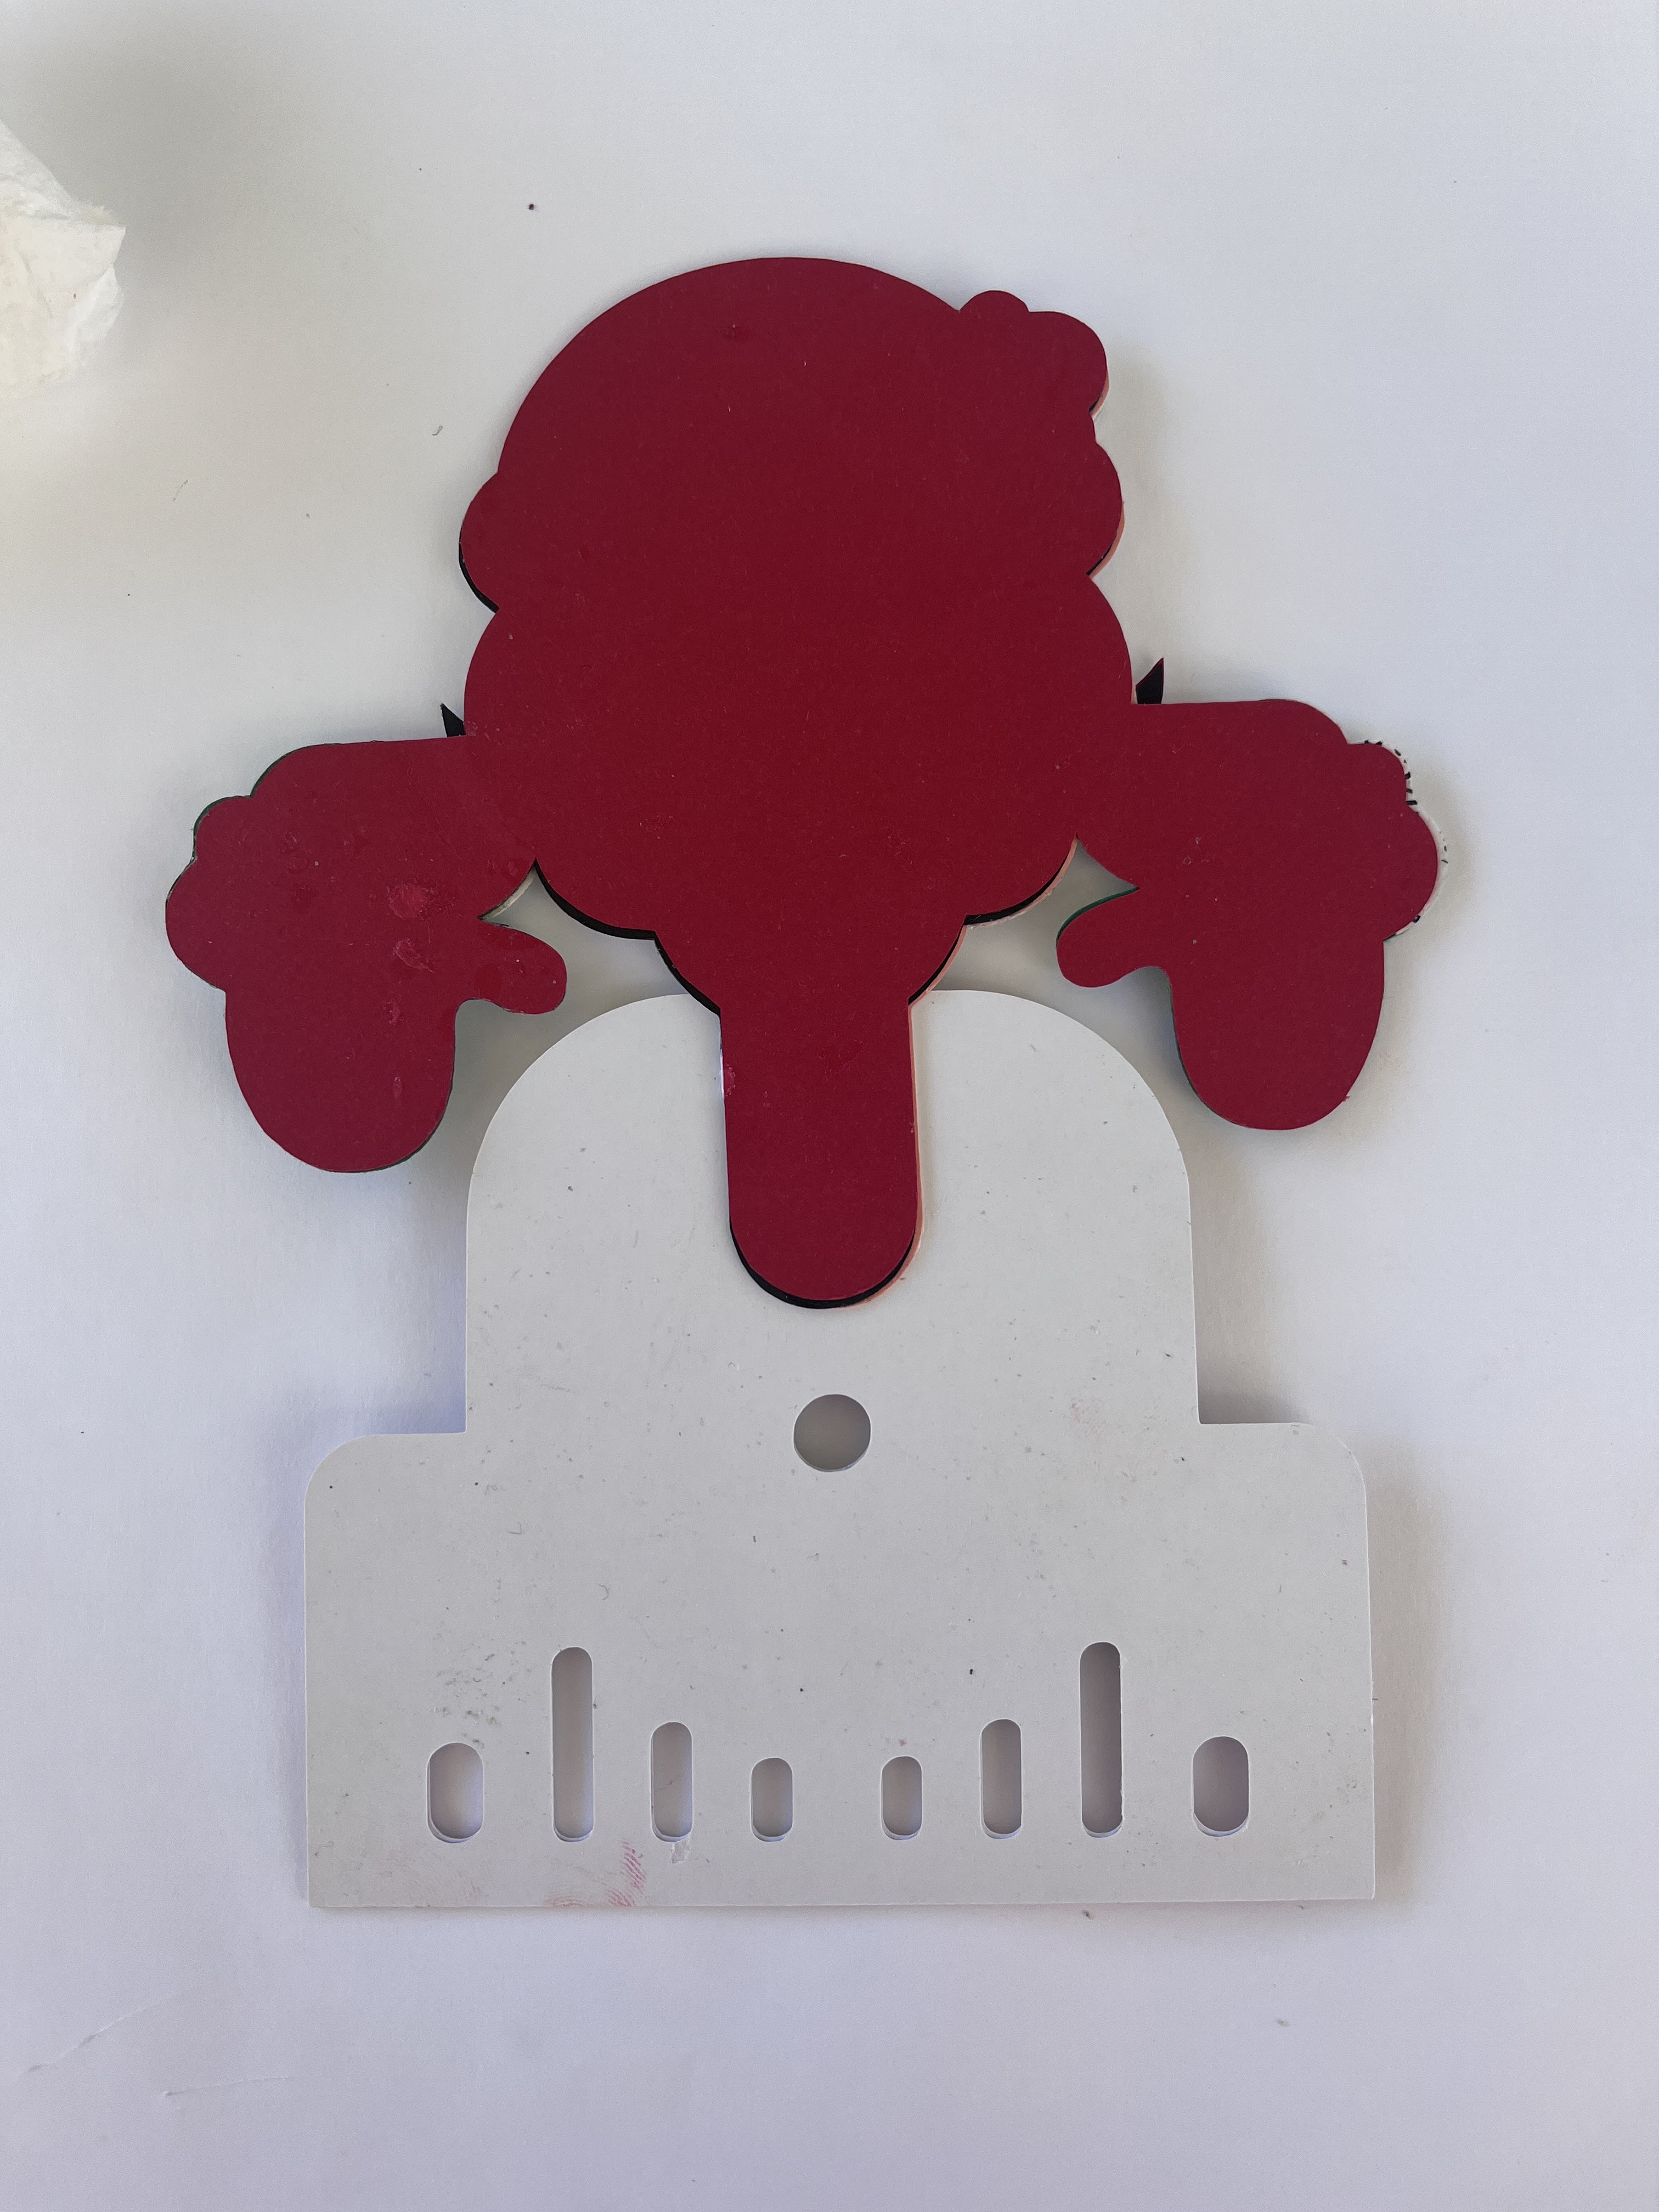
The beauty of this project lies in its simplicity - no need for extensive resizing or alterations, just the creative use of various elements from the projects listed below. I incorporated the Haunted Radio from the 'A Hunting We Will Go' bundle, Santa Claus from the 'Santa Gift Card Holder', and a few elements from the 'Bates Christmas Add-On', including the wreath and candle elements. To assemble the radio, simply follow Leo's video tutorial. However, you'll want to construct the front top arch area with Rose Gold first, then add your radio elements along with Santa as depicted below. This order ensures that Santa's hands won't obstruct the attachment of the top front element.
From the original radio I did not cut or use the following: Dial.png (You will want to use the Plain Dial SVG Below); Red_Vellum.svg, Template.svg and the Skull portion from the Yellow_Vellum.svg. I also removed the skull opening from the Panel_Purple_Vellum using contour since it wasn't needed. If you know how to do that great, if not do not worry as Santa covers this opening, you can see mine in the diagram a little further down! One last note, the LED lights I used and linked to come in a roll. I just unrolled them and arranged the roll as needed inside the radio. They also attach to a portable USB phone charger and come with a remote, so they are convenient. Oh, and are also really bright!
Haunted Radio Cardstock
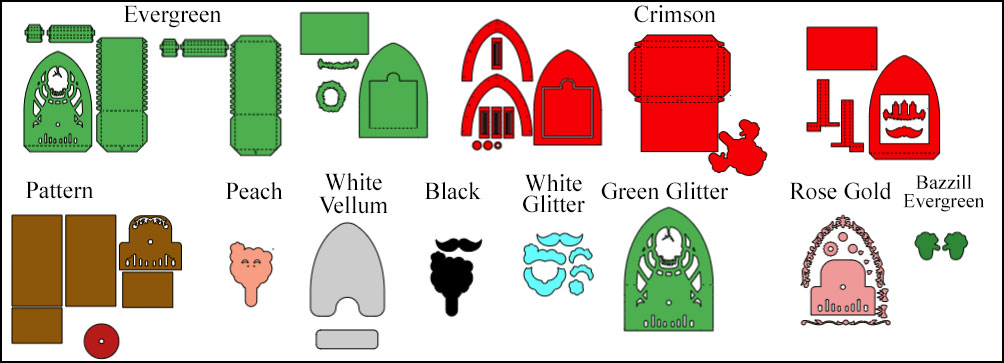
3 Sheets of 12x12 AC Evergreen
3 Sheets of 12x12 AC Crimson
1 Sheet of 12x12 Pattern Paper
1 Sheet of 8.5x11 AC Peach
1 Sheet of 8.5x11 AC Black
1 Sheet of 8.5x11 Bazzill Evergreen
1 Sheet of 8.5x11 White Glitter
1 Sheet of 12x12 Rose Gold
1 Sheet of 8.5x11 White Vellum
Ez-Sounds Music Player
LED Lights