


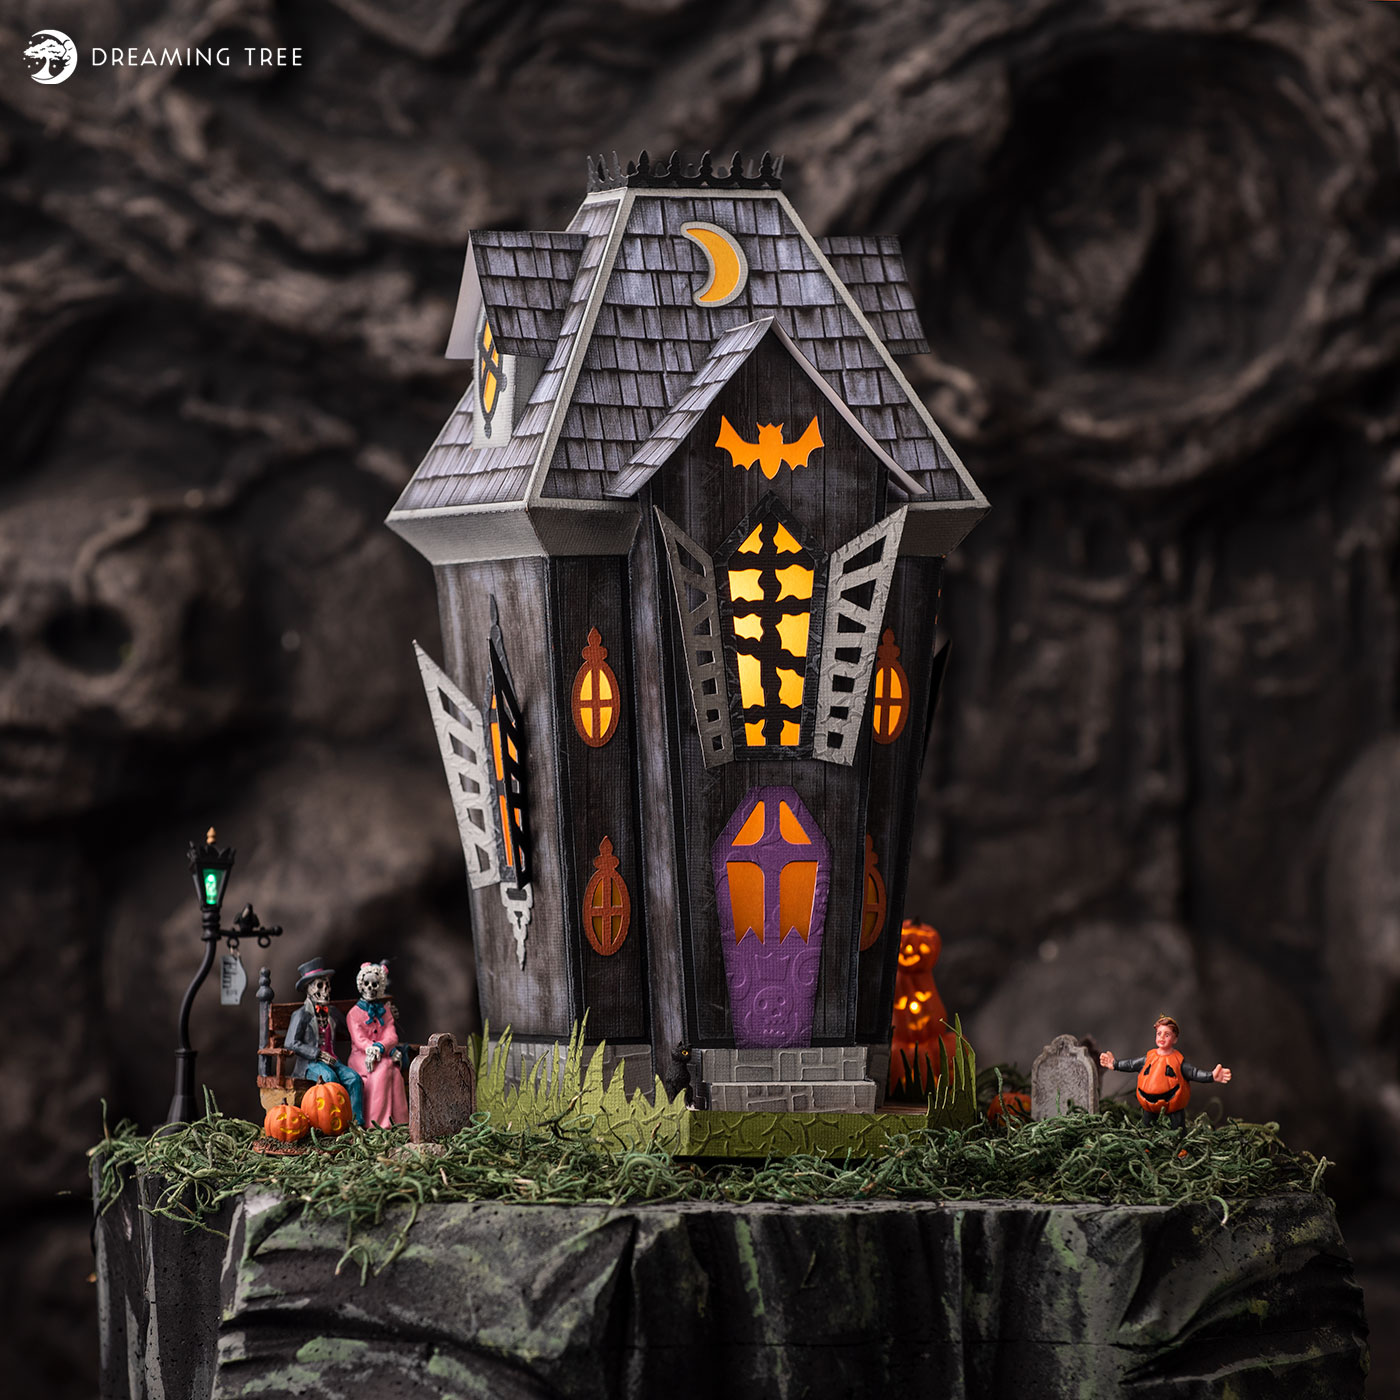
Grisly Place is one of my favorite pieces in the Dreaming Tree content library and I knew the moment I saw Ron's design, I'd have to give it my personal spin. I'm a big fan of farmhouse industrial decor and felt that using barnwood and rustic shingles would help this piece blend better with my home decor. Plus it gives the piece a hint of realism and spookiness!
Custom Barnwood & Shingles How-To
Using stock photography and some Photoshop magic, I created 8.5" x 11" sheets of digital paper for the shingles and the siding. The files are high resolution PNG files which you simply need to print. I suggest going into your print options and selecting the borderless printing feature if your printer model supports it. It's not necessary, but it does help get the correct detail out of the digital papers. Simply put, you want it to print on an entire 8.5x11 piece of paper. I used white American Crafts cardstock to print the digital papers. Click the button to download the digital papers.
Simply cut the files below on the corresponding digital papers and assemble Grisly Place as you normally would using the assembly video on the product page. Once you've cut these files, be sure to cut the rest of the files required to create Grisly Place.
There are a handful of SVG files in this bundle that need to be cut with the freshly printed digital papers. I have them listed here for you!
- panels_black_pattern.svg will require a full 8.5" x 11" sheet of the haunted-house-siding.png printed digital paper.
- panels_spider_web_pattern.svg will require two 8.5" x 11" sheets of the haunted-house-siding.png printed digital paper and will also require some file manipulation (Contour in Design Space) in order to correctly position the elements within the 8.5" x 11" confines.
- panels_striped_pattern.svg requires one 8.5" x 11" sheet of haunted-house-siding.png printed digital paper if cut separately, but you should be able to cut it along with the isolated portion from the previous file (panels_spider_web_pattern.svg).
- panel_orange_pattern.svg requires two full sheets of the haunted-house-shingles.png printed digital paper and will require some file manipulation in order to correctly position the elements within the 8.5" x 11" confines.
- Because of the orientation of the roof_rectangle_pattern.svg, I had to break the pieces in half in order for the shingle pattern to print out correctly. Click the button below to download the custom pattern. Use the SVG file below in place of roof_rectangle_pattern.svg
Custom Styrofoam Base
The base was inspired by a cute little shop in Geneva, IL that sells Department 56 / Lemax houses. The entire shop is ONE BIG DISPLAY that is brilliantly done. If I had to guess, it has over 100 different houses on display and each one sits on a custom styrofoam base that was hand sculpted and painted. After seeing it was made of styrofoam, I went online and figured out how to do it myself. It's not that difficult and I'm sure I have a lot more to learn about the process, but the end result turned out great! Check out the video below to see how it was done! I'll also include links to the various elements that I used to create my base.
Below you'll find links to the supplies and tools I used to create the base. Note that some of the links may be affiliate links.
- I used styrofoam rectangles from Hobby Lobby that measured 48" x 12" x 1.5", but I found this 5 pack of 12" x 12" pack that you can use without having to cut anything. Buy on Amazon
- I used a hot wire cutter and needle attachment to shape my base and give it a spooky look. Most craft stores carry these as I purchased mine from Hobby Lobby, but here a comparable one on Amazon. Buy on Amazon
- I glued the styrofoam together using basic hot glue, but the styrofoam world has special glue that you can use for a tighter bond and better hold. I don't have enough experience with this medium to know if hot glue will bond permanently, but so far it's working great.
- I painted the base with acrylic paints from Apple Barrel. I mostly used black, grey and a hint of green that matched the moss that I Mod Podged to the top of the base. Buy on Amazon
- For the top of the base, I took some Spanish moss that was dyed green, shredded it using some scissors and Mod Podged it to the surface of the base.
That's about it! If you have any questions about this project, feel free to drop me a line using our contact form! Can't wait to see your version and maybe even your custom base!! ~ Leo